8 Acupressure Mat Positions That Can Help You Relax
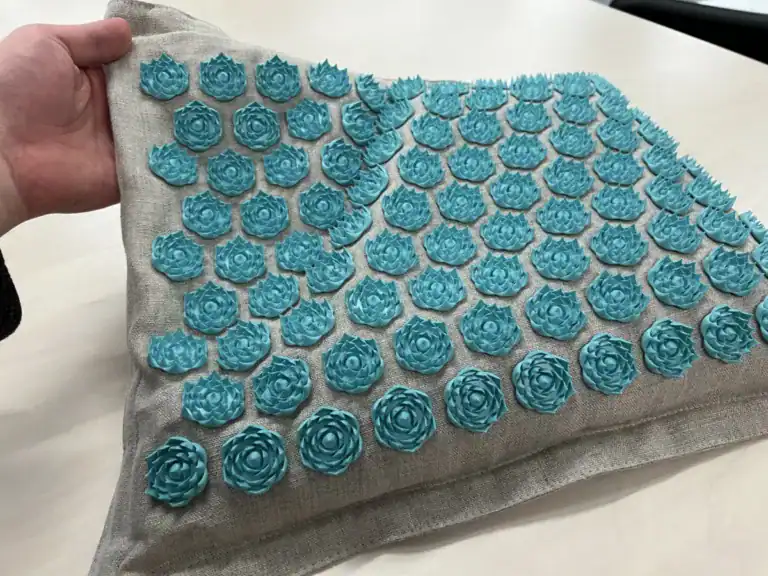
Would you like to learn about eight acupressure mat positions that can help you relax? These mats are effective if you want to relieve pain, stress, and tension, and there are several positions you can use to maximize the benefits.
In this article, we’ll discuss each position in detail and provide instructions on how to perform them. We’ll also share some of the benefits associated with each position. So, whether you’re looking for a way to relax after a long day or suffer from insomnia, these positions may be just what you need. Keep reading to learn more!
Also read: 5 Foot Acupressure Points
Image credit: Pixabay.com
1. The Basic Position – Lying On Your Back With The Mat Directly Below Your Body
You should lie down on the mat, ensuring that all the acupressure points are in contact with your body. You can then place the headrest at the top of your head and let your arms rest by your sides. Close your eyes and take a few deep breaths, focusing on relaxing all of your muscles.
Stay in this position for anywhere from 5 to 30 minutes, depending on your available time. When you’re finished, slowly roll onto one side and then use your hands to push yourself up into a seated position. Take a few more deep breaths before standing up and moving on with your day.
Also read: How To Use Acupressure Mat For Weight Loss
2. Legs-Up-The-Wall Pose – Leaning Against The Wall With Your Legs Propped Up
The instruction given above is for a basic relaxation technique that can be used to relieve stress and tension. To perform the technique, you should:
Lie down on your back on a mat with all of the pressure points in contact with your body
Place the headrest at the top of your head and let your arms rest by your sides
Close your eyes and take a few deep breaths, focusing on relaxing all of your muscles
Stay in this position for 5 to 30 minutes, depending on how much time you have available
When you’re finished, slowly roll onto one side and then use your hands to push yourself up into a seated position
Take a few more deep breaths before standing up and moving on with your day.
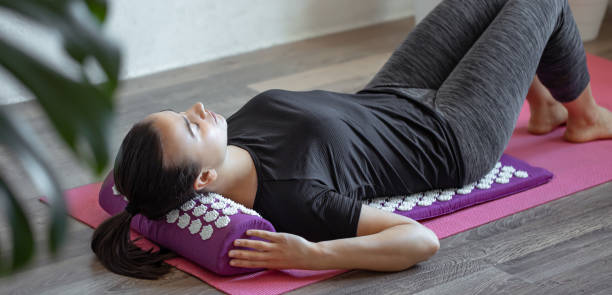
Image credit: Pixabay.com
3. Supported Bridge Pose – Lying On Your Back With A Pillow Under Your Hips
A bridge pose is a great way to open up your chest and improve posture. It can also help relieve tension in the neck and shoulders. This variation of bridge pose, known as supported bridge pose, provides even more benefits. Here’s how to do it:
1. Lie on your back, bend your knees, and bare your feet flat on a flat surface.
2. Place a block or other support under your sacrum (the triangular bone at the base of your spine).
3. Raise your hips and thighs into the air, and clasp your hands together underneath your body.
4. Hold for five deep breaths, then release and lower your hips back to the ground.
The benefits of supported bridge poses include improved spinal health, reduced stress levels, and relief from chronic pain. If you’re looking for a relaxing yoga pose with various health benefits, give the supported bridge pose a try!
Also read: Acupuncture vs. Acupressure: What’s The Difference?
4. Child’s Pose – Kneeling And Resting Your Forehead On The Mat
The benefits of Child’s Pose are many. It is a wonderful pose for beginners, as it is simple and calming. The child’s Pose stretches the hips, thighs, and ankles and helps relieve stress and fatigue.
To do Child’s Pose correctly, kneel on the floor with your knees hip-width apart. Touch your big toes together and sit back on your heels. Begin in the pose by taking a deep breath and extending your torso forward between both legs, letting it rest on top of one arm so that you can keep balance. Then move slowly towards making this position more comfortable for yourself with each inhale while keeping both hands flat against the floor beneath support.
If you find the pose difficult or uncomfortable, you can modify it by placing a blanket or bolster beneath your forehead. You can also place a folded blanket beneath your hips to make the pose more comfortable. Pregnant women or those with injuries should avoid this pose or modify it as needed.
Breathwork is an important part of yoga, and Child’s Pose is no exception. Make sure to focus on deep, slow breaths as you hold the pose. Hold for 3-5 minutes, then slowly release and return to a seated position.
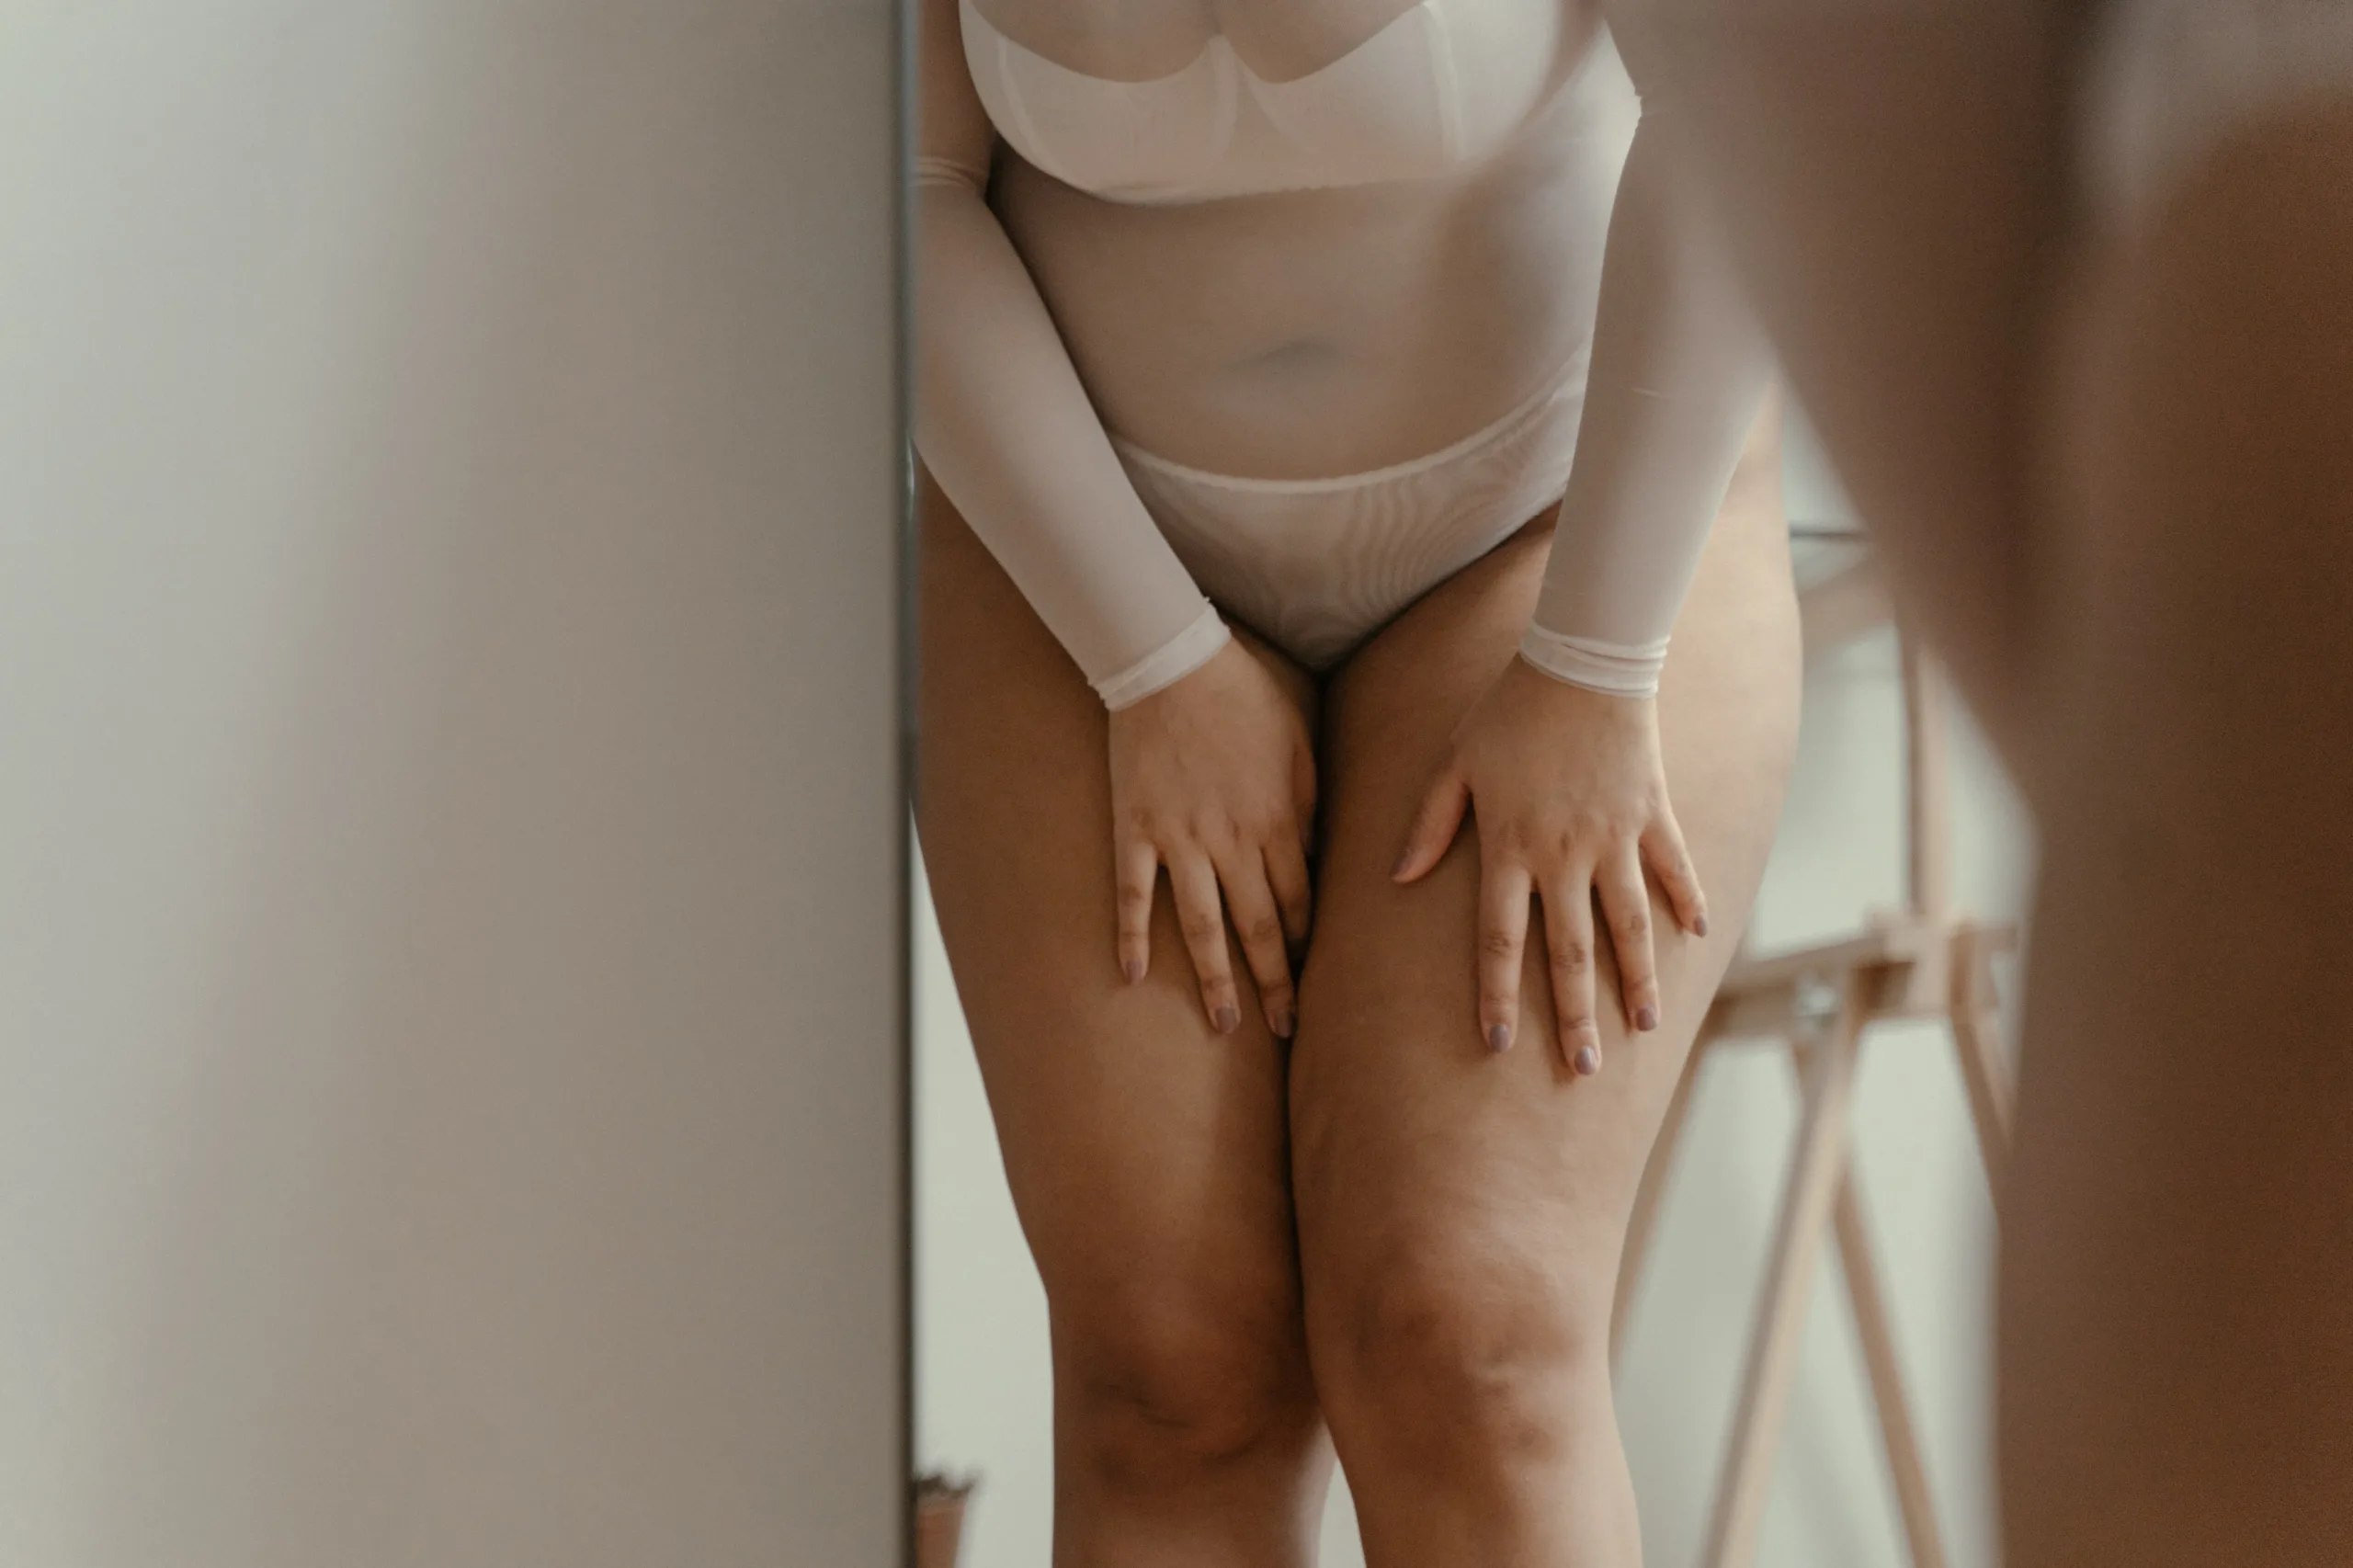
Also read: Acupressure Mat For Cellulite: How To Does It Work?
5. Seated Spinal Twist – Sitting Cross-Legged And Twisting To One Side
The paragraph instructs the reader on how to do an exercise that helps to improve flexibility and range of motion. The exercise is done by twisting the torso to the right and returning to the starting position. It can also be done while sitting in a chair, just twisting to the right or left instead of crossing your legs. The most important thing is to keep your back straight and not lean too far forward or backward.
Image credit: Pixabay.com
6. Cat/Cow Pose – Getting Down On All Fours, Then Arching And Rounding Your Spine
In basic terms, the Cat-Cow pose is a spinal warming exercise that helps to open up the chest and spine. It can be done as a standalone exercise or as part of a larger yoga routine. To do the Cat-Cow pose, start in the Table Top position. Inhale and bring your gaze to the sky, exhale, and round your spine towards the floor.
Inhale, tuck your chin to your chest, exhale, and arch your back towards the ceiling. Hold for a few breaths, then switch directions. Repeat 2-3 times. If you find this pose too challenging, start doing it against a wall for support.
Also read: Do Acupressure Mats Work?
7. Half-Moon Pose – Stretches The Hamstrings And Opens Up The Chest
The half-moon pose is a great way to stretch the hamstrings and open up the chest. It’s a simple pose that beginners can do. Here’s how to do it:
To do a half-moon pose, start in downward dog. Then, gently lift one leg up into the air and extend it to the side. Balance on your other foot and reach your hand up towards the sky. Hold for a few seconds before switching sides.
Benefits of the half-moon pose include improved flexibility and range of motion. It’s also great for stretching the hip flexors and quads. Always consult with a doctor before starting any new exercise and wellness routine.
8. The Camel Pose
The Camel Pose is a great way to relieve neck and upper back tension. The pose can be done using an acupressure mat and a bolster or pillow. You’ll need to position the bolster or pillow to support your lower back to do the pose.
Then, place the acupressure mat on the floor and kneel down with your hands resting on your hips. Gently arch your back and tuck your chin towards your chest until you feel a comfortable stretch in your neck and upper back. Hold this position for 3-5 minutes, then release and repeat as needed.
Also read:
Conclusion
Give yourself a break, and try to use an acupressure mat! If you spend most of your days hunched over a desk, it’s time to give your back a break. Acupressure mats help with everything from improving your circulation to unknotting tense and sore muscles.
And the best part is, you can use them in the comfort of your own home. While many acupressure mat positions can help you relax, we’ve rounded up eight of our favorites. So what are you waiting for? Give yourself some much-needed relief and give an acupressure mat a try.
Author

Free Mobile App
Find Pressure Points on the Go
Interactive 3D body map with 100+ acupressure points, step-by-step guides, and personalized routines.
Download Free App →